Available 24/7 | 0800 088 4170

Available 24/7 | 0800 088 4170
A leak from the underfloor heating system in a third-floor East London flat left standing water and elevated moisture levels after the faulty connection had been repaired. Although the immediate source had been stopped, moisture remained within the floor and wall construction.
Investigation identified moisture in the party wall, the bathroom cavity wall and the chipboard flooring, with visible mould also present within the bathroom wall area. The challenge was therefore to address both the retained moisture and the affected materials without defaulting to unnecessary removal of the entire floor.
Ideal Response combined targeted enabling work, mould treatment and a two-week specialist drying regime. Positive-pressure drying and dry-air injection were used to move dry air into affected areas, including beneath the bathroom floor, while moisture conditions were monitored as the property dried.
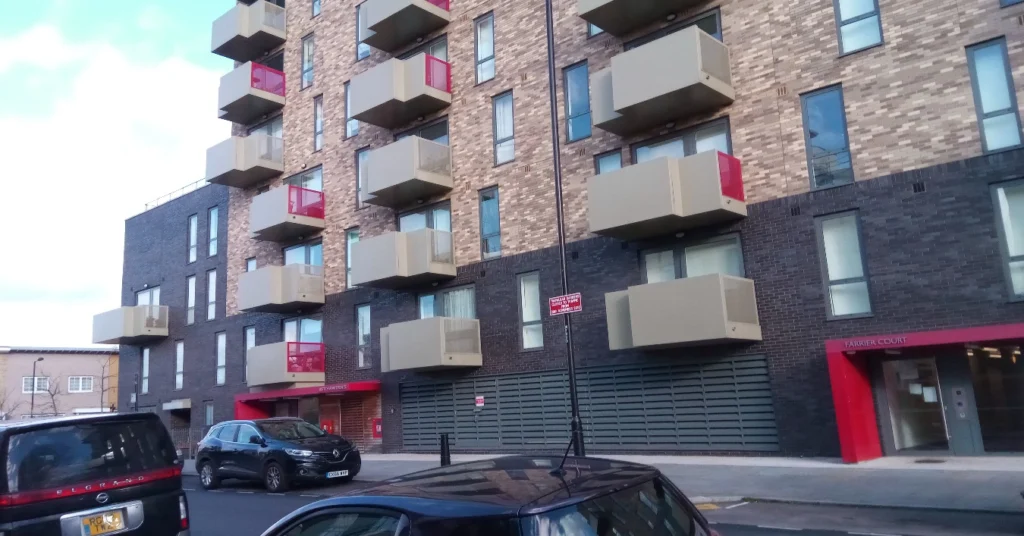
The enabling and strip-out work was completed over two days, followed by a two-week specialist drying regime. The bathroom floor was targeted using dry-air injection, while the wider system addressed moisture retained within walls, flooring and the surrounding environment.
The project demonstrates why stopping a leak is only the first part of water damage recovery. In this flat, the remaining challenge was moisture that had already migrated into the building fabric and needed a controlled route out.
The faulty connection between the underfloor heating pipe and manifold had been repaired before Ideal Response attended. Standing water and elevated moisture levels, however, remained within the property.
Checks identified moisture retention in the party wall between the affected flat and its neighbour, within the bathroom cavity wall and in the chipboard flooring. This meant the drying strategy had to address moisture held beyond the immediately visible surfaces.
Water from an internal leak can move beyond the area where it first becomes visible. Party walls, cavities and chipboard flooring can all retain moisture after the source has been repaired. Mapping that moisture before deciding how to dry the property made it possible to combine selective removal with targeted pressure drying rather than treating every affected element in the same way.

“Stopping the leak prevents more water entering the property, but it does not remove the moisture that has already travelled into walls or floor build-ups. The drying plan needs to follow that moisture. Where it is trapped, targeted air movement and dehumidification can create a route for it to leave the construction while readings are used to track progress.”
Explore more articles about damage restoration, specialist cleaning and what we do